Not sure if anyone would be interested in how to build your own steel post driver but that's what this blog is about. I hate spending money for something that I can make so here is my very own driver I made in 2 hrs the night before last. as you all know I have been building new fences around my place and I bought t-posts the other day but wasn't about to spend ( I don't know what they cost) good money on a cheap driver that you work you ass off driving the posts into the ground because they are made so light weight.
So I went scrounging around my treasure (junk iron) piles and found most of what I needed, had to go to the holy of holy junk piles alittle north of me :O) Peggy don't you tell Gary I was up there pilfering his iron pile :O) So anyway, here are the pictures and I will give each one a little explanation as I go :O)
This is a piece of left over pipe from the cross bracing on the corner posts and a piece of iron off a old Something or other machinery.

Same pieces but after trimming and cutting. Took the ends off the pipe, on I squared off but the other I cut at a angle. So it wont catch on the wire while driving the post in. Around here we string one wire between the corner post or use a string line so when setting the post you can keep them in a neat orderly line. At least you try too lol

Here I have used the torch (oxygen and acetylene) big torch, not a hand held one like one you use for sweating copper pipes, anyway, that's another topic for another blog.
I used the torch to heat the metal bar so I could bend another 90 degree turn in the other end of it..

and there you go, starting to look like some over grown handles.

hmmm, same pic as above, oops

This is the chop saw I used to cut the pipe and some of the steel rod for the handles. I also used the torch on the handle too to make some of the cuts. if you look close I used the grinder to put a beveled edge on the end of it so when I weld it to the pipe the weld will penetrate between the cracks better and make a stronger weld.

Just a pic of the other grinder I used as well. some times its easier to use the big one for big grinding jobs instead of the hand held one.

This is the torch that I used, gotta love big boy toys :O)

This is the wire welder. I have a stick welder too but wire welders work so much better (most of the time) stick welders have their uses as well, like when I'm welding big heavy iron.

Here it is getting ready to be welded, all the pieces cut bent and prepped, Most all.

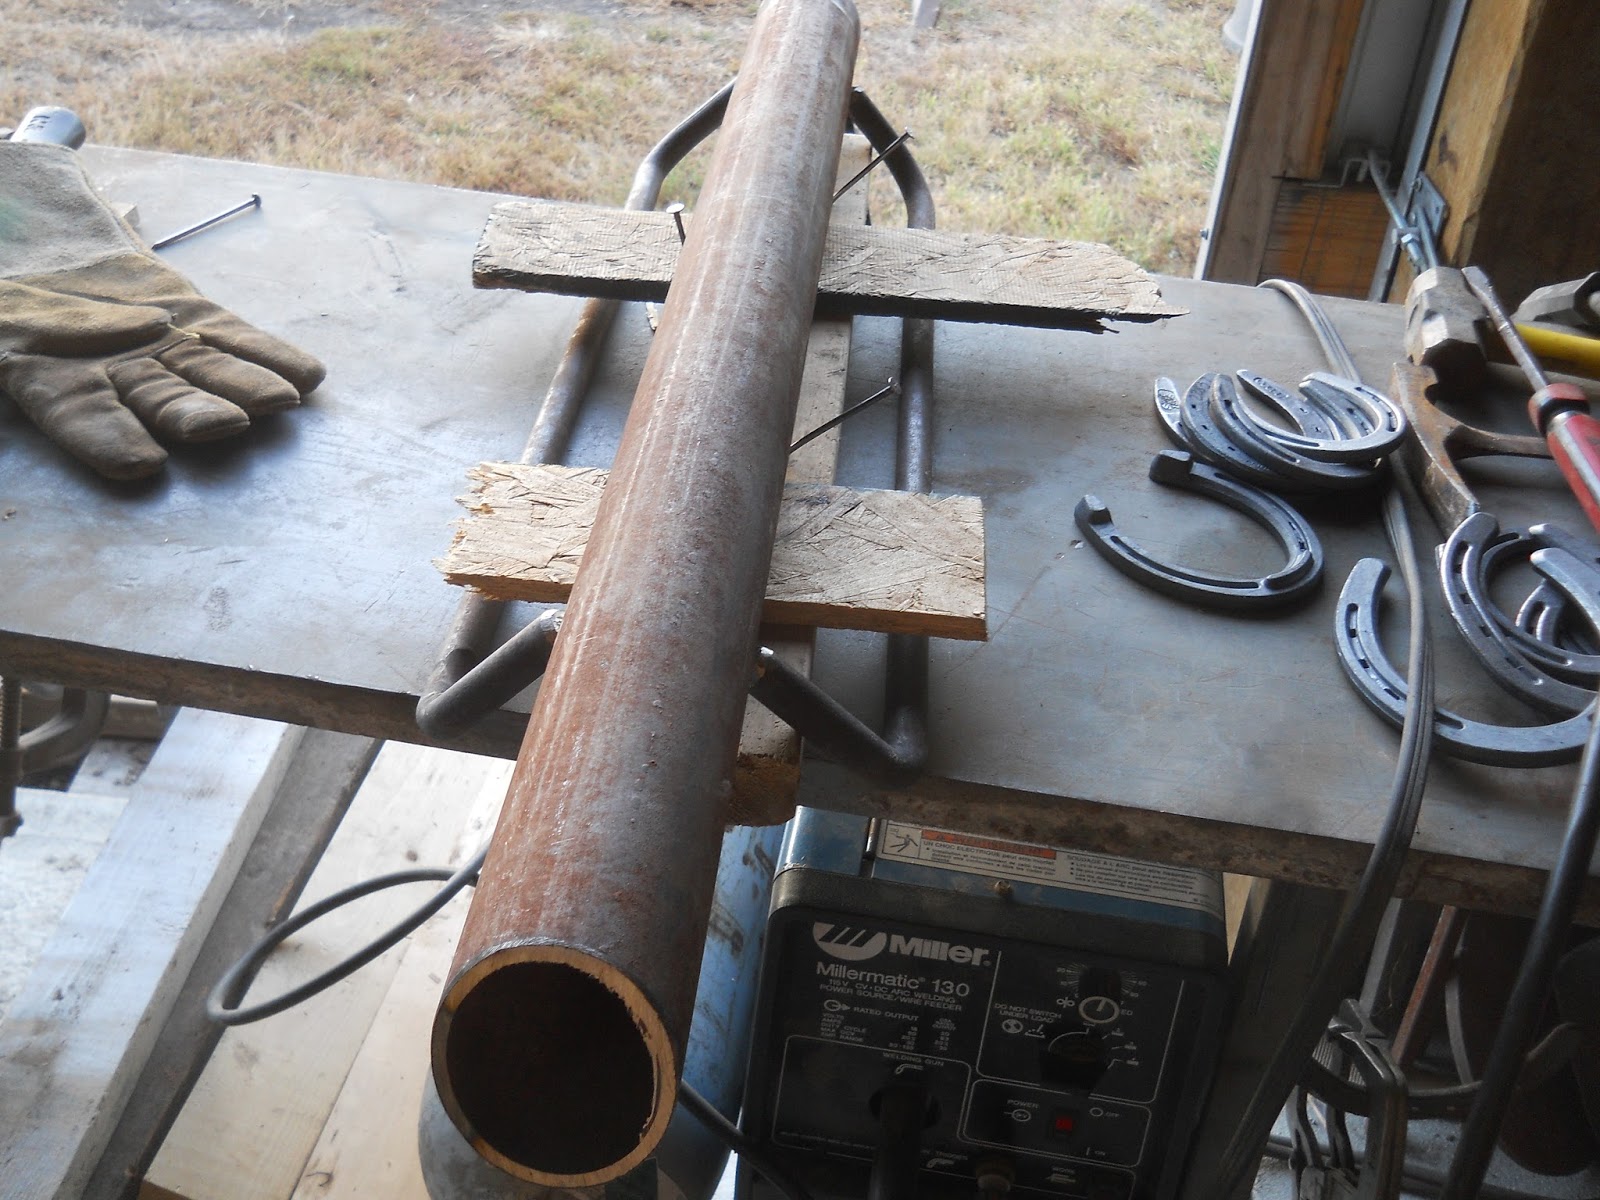
Here you can see where I have used a 2x4 and some 1/2 inch particle board to shim it up so I can get the proper angle on the handles. Don't really want them sticking straight out the sides or you may take a chance of hitting the strand of barbed wire while you driving the t post in. Like I said earlier, you can use a string line or a strand of barb wire for a guide to keep it straight up and down as well as in line with the other posts. Anyway :O)
the horse shoes on the right of this picture is going to be a coat rack soon.
There the handles are welded onto the pipe. Not the prettiest welds but it will hold :O)

Here I am using a piece of the pipe I had cut off earlier as a pattern to cut out the "plug" for the top end of the driver. Its made out of 3/8 steel plate. Used the torch to cut it out.

The end that needs the plate welded to it.

There the plate is welded in, again, not pretty but effective.

this picture got out of sequence, that's the plug after cutting chipping the slag off and grinding it down so it fits about 1/2 way into the pipe end. A lot of weld holds it in place. that is the end that the t post will trike each time you pick it up and let it slide back down on the post while pulling it down as well.

Here is the finished and painted product, like I said 2 hrs from start to finish.

Here it is on its maiden fence post driving. worked just wonderfully. Operator is a little flawed but it all turned out pretty good.

This is east of the drive way. just waiting on one strand of barbed wire on the top and then the rolled fencing for the bottom. Will look pretty good even if I do say so myself :O)

Looking to the west of the driveway, yes unfortunately, I have 3 more fence to build and that's just to get the property fenced in. After that I have to start building the pen fences. Not sure when I'm actually going to get done but hopefully I will :O)

and there it is after a hard day at work, That is a stand that is made out of a model t rear end housing. Works pretty good for that and also a "jack" stand as well.

random pick, this old air compressor will one day be a wood fired BBQ grill.

I hope I didn't bore you all too bad, just wanted to share the building process with you.
got to go so take care and be safe all :O) talk later to you.
No comments:
Post a Comment